Wednesday, June 15, 2022

Summer Blackberries

CROSS CREEK BLACKBERRY FARM
If asked to choose my favorite food/recipe/dish from each of the three most important women in my family, I would likely begin with Mammy Lott's Blackberry Cobbler. Let me just say, it was heaven. I wish I had the old pan in which she baked this amazing summer pastry. It was a long rectangular pan that was blackened on the outside from years upon years of use. Mammy kept the interior pristine and shiny; she was a stickler for clean. But when she brought it out of the oven, piping hot and filled with the hands-down best cobbler I've ever had, it was a rich, dark-purple color from the blackberry juices bubbling through the golden, sugared, lattice crust. It was a culinary triumph. Mammy had serious pastry chops. And for those of us around the dining table, it was food magic. She served us luxuriant scoops from the old blackened pan, and adorned the piping hot cobbler with chilled fresh cream, not whipped, simply poured over in liberal dollops. Hot, cold, sweet, crispy, tart, creamy, all part of its deliciousness.

So when I heard recently of a blackberry farm a few miles from home, my mind began wandering back to Mammy and Pappy's dining room, and that blackberry cobbler. My friend Lisa and I drove up this morning bright and early to the Cross Creek Blackberry Farm (find them on Facebook). Oh my gracious, that place is a beautiful example on how to grow and sell blackberries. I'm sharing with you a few photos I snapped in between picking those black, delicious orbs. Such a treat, and definitely worthy of another trip! Y'all should check them out. You won't be disappointed. Lovely folks!

Now my plan for tomorrow is to make Mammy Lott's Blackberry Cobbler, and share the recipe and pics on this blog. So stay tuned! I know it could never be as delicious as my Mammy's, but I will surely think of her while I'm making it. Oh yum!

Ouachita patch!


The entrance and the pond beyond!

These little critters are such charmers!

This patch was shady, so we started here!

Up close and personal!

Delicious large berries in this patch!

Now to enjoy!

Saturday, March 12, 2022

Quinoa Salad (aka Tabouli reimagined)

I love a good salad! And I don't really care what season; Summer or any other time, an excellent salad hits the spot. This is my reimagined Tabouli. I've had Tabouli made with Bulgar Wheat, the traditional way, and I must say I much prefer Quinoa. And Quinoa is gluten free if you need it to be. I prefer the flavor and texture, though GF is good for me, as well. So basically, the photos below are the whole shebang. The assemblage is straightforward, and after everything is combined, stick it in the chill chest for enough time to marry all the veg friends. This folks, is a hit salad for pot-luck, picnic, or any old Tuesday night you need a little pick-me-up and tasty fiber. Here you go...

Disclaimer: The mint in my herb patch was not quite ready for picking, but had it been, I would have added about half as much as the parsley. It brings a bright, fresh taste sensation.

Grape tomatoes halved or quartered, your preference.
One small container.


One English cucumber parsed into bite-sized bits.


Four green onions, both green and white.


Minced garlic, two cloves.


Fresh parsley, about a very loosely-packed one cup.


Mixy, mixy!


Two lemons, freshly squeezed, and a bit of zest if you like.


An excellent grassy green extra virgin olive oil.
One-fourth to one-third cup.

Mix the lemon juice and EVOO together, and pour over the mixed veg. Gently toss to combine, and chill until service. 

Using the directions on the Quinoa package, cook 1-cup Quinoa, and fluff it with a fork after it has completely retained all the liquid used to cook. Allow it to cool before adding to the veg. Again, gently combine the Quinoa with the veg mixture. Done!

I must confess I didn't snap a photo of the finished product. Just allow me this; it was so delicious. I took it to a dinner party that evening, and all that was left was a polite dab no one was willing to take. I had that for lunch the next day. Yum!


Friday, December 18, 2020

Brownie Bites

There are recipes that last literally a lifetime and beyond. Way back in the day it was the custom to clip and save "proof of purchase" coupons from the packaging of products you liked and used often. The idea was to send 
the coupons and typically a small amount of money to the product maker when they offered some sort of bonus for purchasing their wares. In return you received the item in 3-6 weeks. I kid you not, 3-6 weeks. This was also a time when sending cash in an envelope was a no-risk deal. Unheard of now. So I sent to Hershey's Cocoa, $.50 and a proof-of-purchase coupon from a box of Hershey's cocoa in order to receive the Hershey's Cocoa CookbookAll by snail mail, of course. No registering and/or paying online back in the 70's. Eventually I received a recipe book of the best cocoa recipes they could compile. I still have it. I still use it. I still love it. 

"The Best" Brownies

1/2 cup vegetable oil (Canola) or melted butter

1 cup sugar

1 teaspoon vanilla extract

1/2 teaspoon almond extract

2 eggs

1/2 cup unsifted all-purpose flour

1/3 cup Hershey's cocoa powder

1/4 teaspoon baking powder

1/4 teaspoon salt

1/2 cup chopped (walnuts) nuts 

1/2 white chocolate chips

1/2 cup milk chocolate chips

Note: The original recipe is perfect, I must say, but over the years I've tweaked it a bit. The explanation is as follows. I use oil not butter, specifically Canola oil. I added the almond extract because the combination of chocolate, vanilla and almond is delicious. I prefer walnuts to any other nut in brownies, so that's that. And lastly, adding an extra cup of chocolate chips is nothing short of reasonable. Triple chocolate heaven.

Into a mixing bowl add the oil, sugar, vanilla extract, almond extract, and whisk until blended. Add the eggs and mix completely. Using a sifter, add the all-purpose flour, cocoa powder, baking powder, salt and sift onto a sheet of wax paper or parchment for easy handling. Fold the wax paper in half and slide the dry ingredients into the bowl of wet ingredients. Stir carefully until all comes together in a thick batter, then mix briskly for a few seconds. Fold in the chopped walnuts, and both chocolate chips. Mix well. 

Note: I don't bother with a mixer. It's fine and to me easier to use a good old sturdy wooden spoon for the mixing.

If making a pan of brownies, spread into a 9" square pan, greased or sprayed with a non-stick spray. Bake at 350° for 20-25 minutes, or until it pulls away from the sides of the pan. Remove and cool completely before slicing. Yields 16 brownies. 

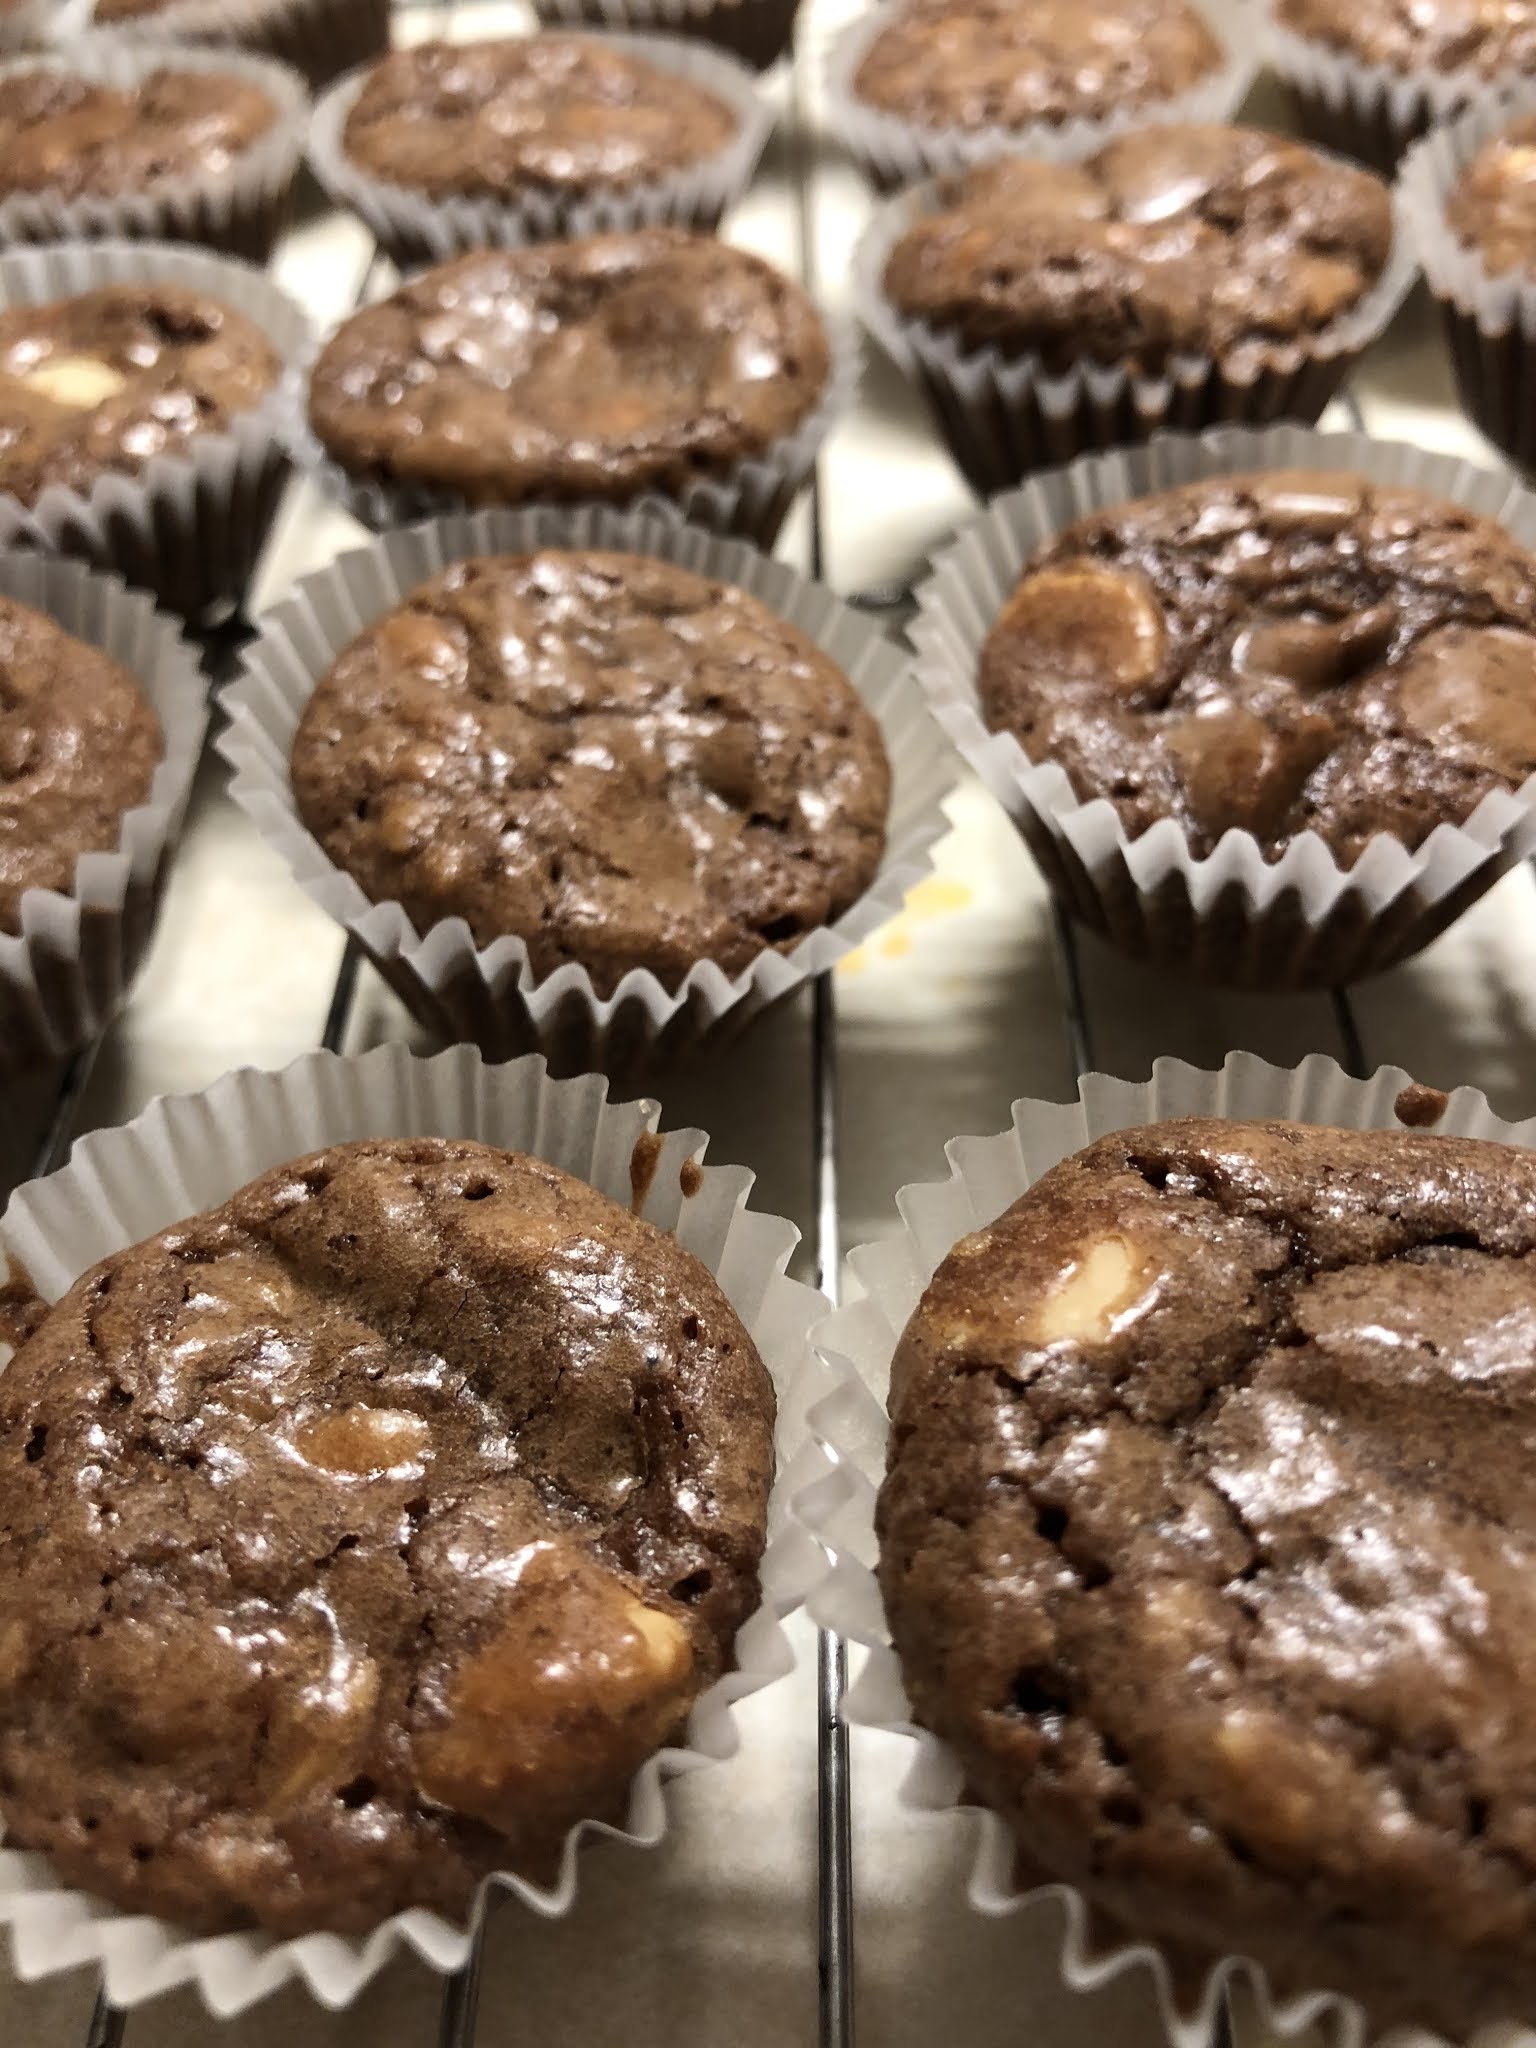
However, if you're making brownie bites, using two teaspoons, scoop the batter with one teaspoon, and scoot the batter off with the second spoon into cupcake liners fitted into a mini cupcake pan holding 24 tiny cupcakes. Bake for less time than the pan of brownies, about 15 minutes. Cool completely before frosting.

Chocolate Cream Cheese Frosting

1-8 ounce block of (softened room temp) cream cheese

1/2 cup (softened room temp) butter

1 teaspoon vanilla extract

1/2 teaspoon almond extract

3-1/2 cups confectioner's sugar

1/2 cup Hershey's cocoa powder

Pinch of salt

Note: The best way to achieve success with this recipe is to use a stand mixer if possible. The result is much more smooth and creamy. 

Begin with the cream cheese and butter by whipping them with a paddle attachment in the mixer. Add the flavorings and beat until incorporated. Sift the confectioner's sugar, cocoa powder and salt onto wax paper or parchment. With the mixer on low, fold the wax paper in half and carefully add the dry ingredients to the cream cheese/butter mixture a cup or so at the time mixing well after each addition. Stop to scrap down the sides of the bowl and whip until smooth and spreadable. 

Note: If it's to dense, add a bit of milk or cream and mix; if it's too thin, add a bit more sifted confectioner's sugar until the desired consistency is reached.

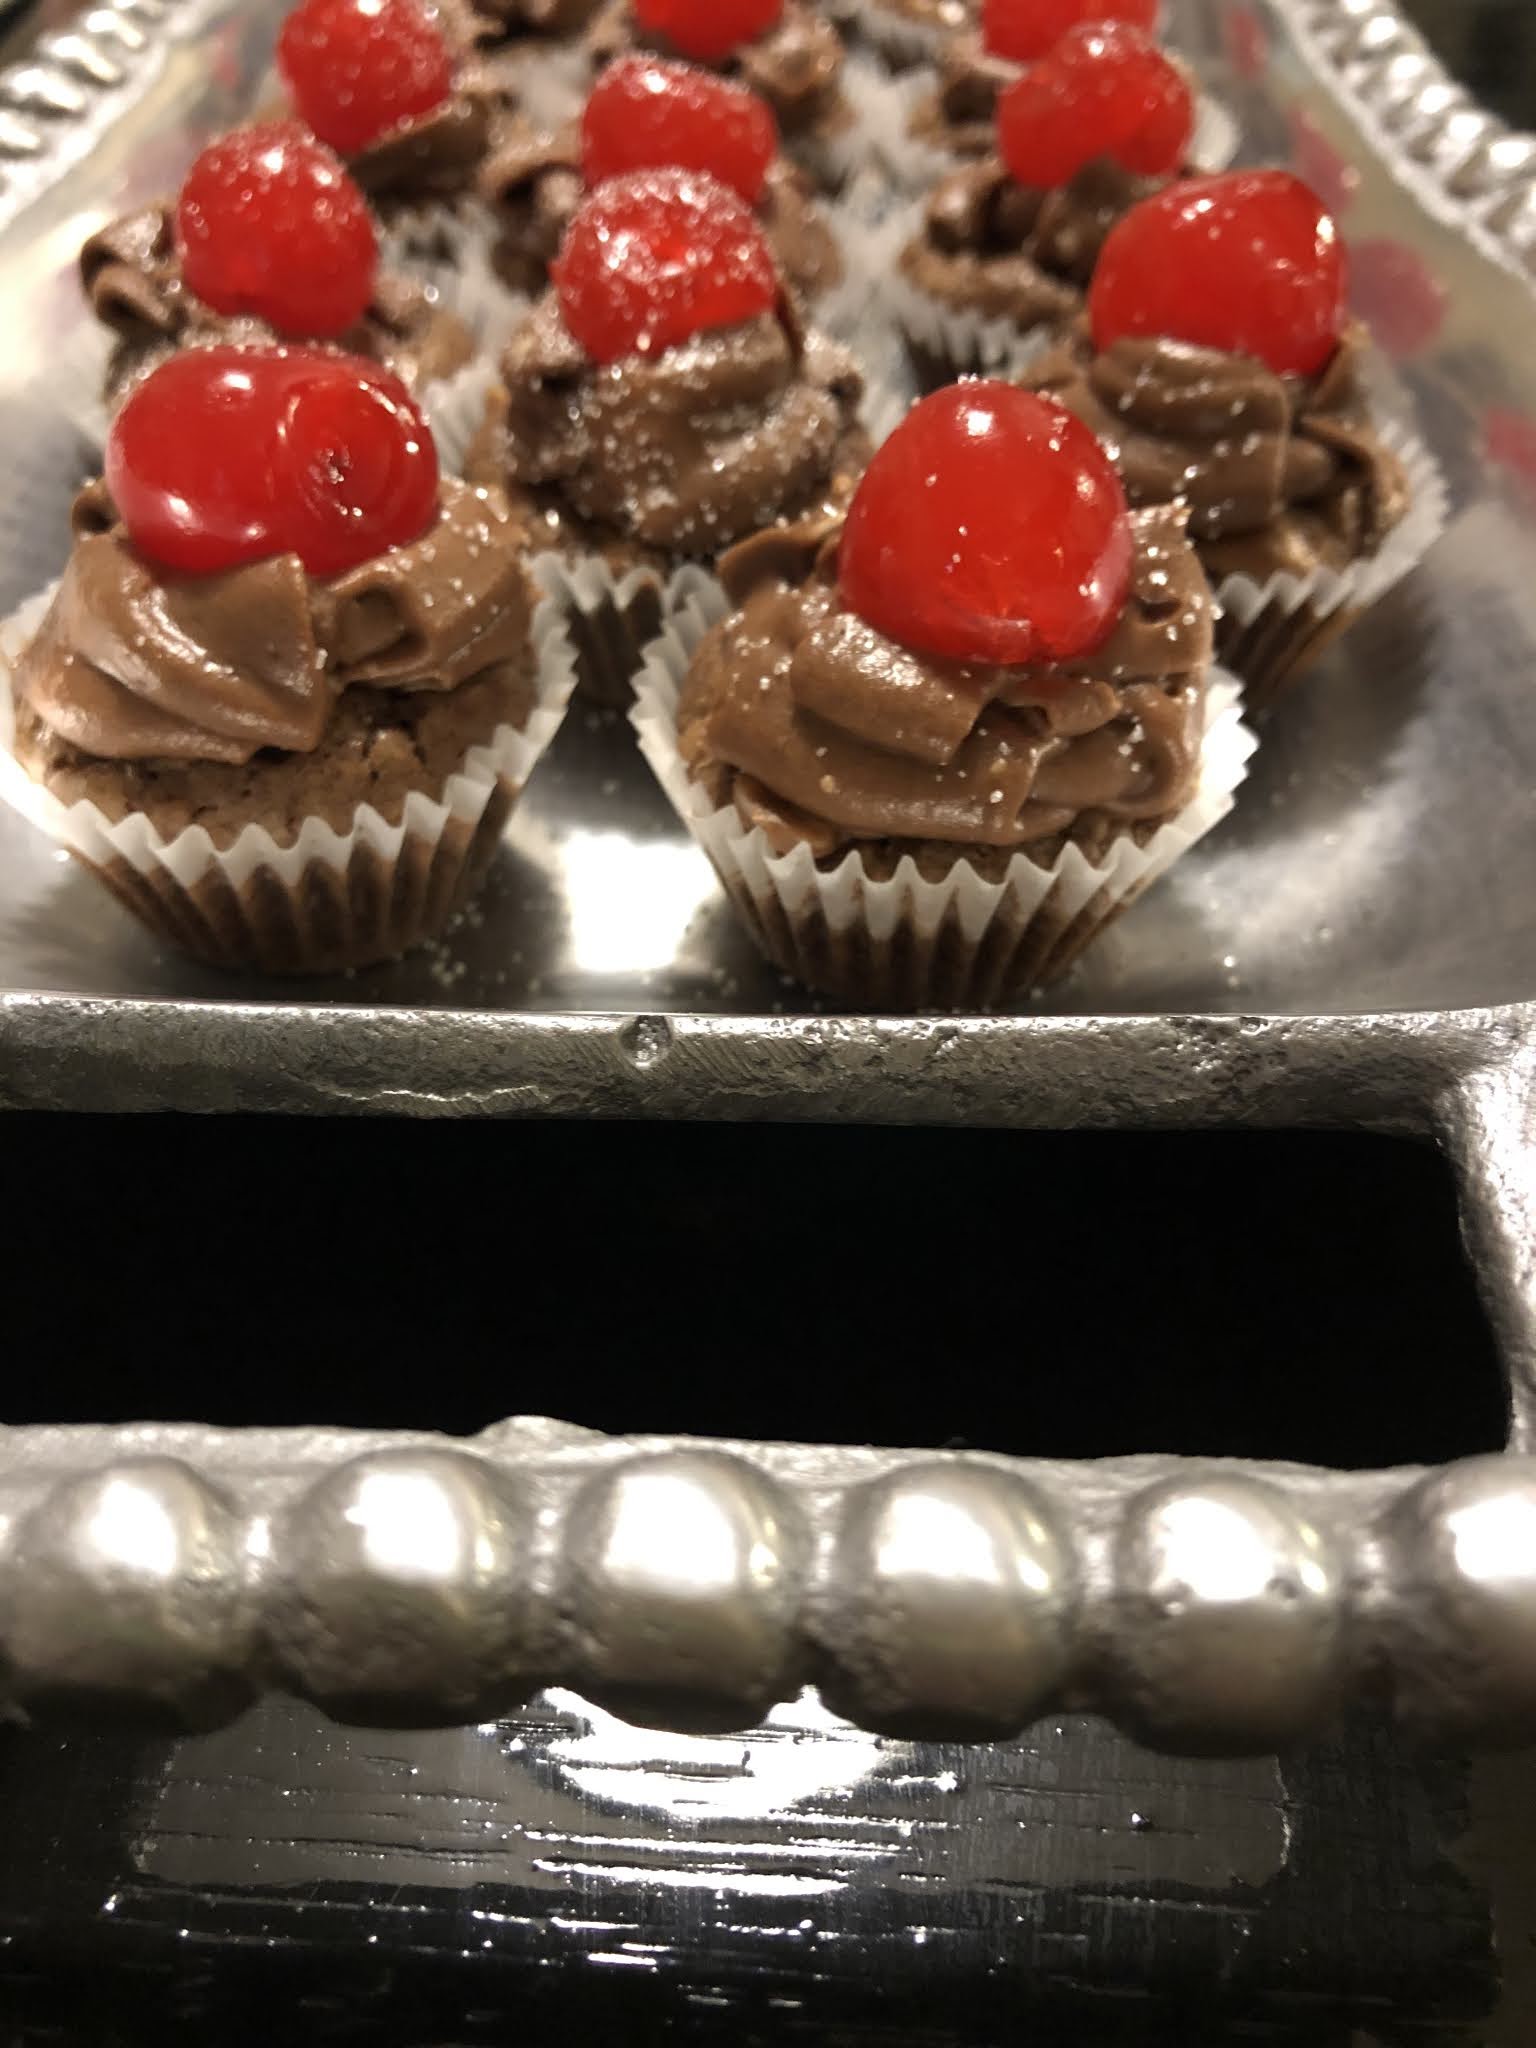
And lastly, spread the luscious frosting onto the cooled brownie bites and top with a Maraschino Cherry (preferably cherries with stems). I couldn't find any this time. Make sure you drain them and place them on a couple of paper towels to dry as much as possible. If you like, sprinkle with a bit of sugar for pretty's sake, and enjoy this recipe. It's a bit fiddly with all the steps, but worth it.

The pictorial step-by-step process of Brownie Bites!


Saturday, May 23, 2020

Mabel's Jelly Cake

Mayhaw Jelly
When the Great British Baking Show began airing several years ago, I never missed an episode. The style and manner of that show was addicting. It flowed and caressed the viewer with dignified banter, humorous repartee, and crackerjack baking ideas, all amid pastoral scenes of frolicking lambs on emerald green pastures. I loved it. Indeed, virtually all British productions, I find superior. That show...delightful!

During the course of the season I soaked up a great deal of tips and baking techniques used in some unknown bakes, as well as some familiar delights I've actually made myself. Happily I experienced an epiphany when I realized a cake I had enjoyed as a child baked by my Mammy Lott was not terribly unlike a Victoria's Sponge aka Victoria's Sandwich. Mammy loved baking and she was quite good at it. One of her favorite cakes was a plainly stacked four to six layer beauty sans the frosting. The filling for the cake was her homemade jelly which she also liberally spread over the top of the cake. After watching a Victoria's Sponge made on one of the episodes of GBBS, I became much more curious about how it came to be, so I researched its history. I just have to make this cake, but of course, my way. Mine will be a variation on the theme, but I'm still calling it Mabel's Jelly Cake, and following more closely her lead. My cake will not be a sponge, but rather a golden yellow cake in keeping with what my Mammy would have made. A Victoria Sponge uses raspberry jam and whipped cream as the filling, and only two cake layers.

Fortunately for me, I made a batch of jelly this week and I intend to use my tangy/sweet Mayhaw variety in between three layers of golden cake. Mammy usually had a bowl of freshly whipped cream sitting alongside her dessert du jour. She and my Pappy Lott had cows that made the most buttery yellow cream, and when Mammy whipped it to spread on her sweet creations they were so much more scrumptious. I digress but, I'm now thinking of her Blackberry Cobbler with said cream. Oh my!

I stated I would tweak my version keeping the two inspirations in mind; the main difference being the frosting. I am covering the whole cake with a stabilized whipped cream instead of plopping on plain whipped cream slice-by-slice. And it will deviate from the Victoria's Sponge since QE2's favorite afternoon tea delight isn't entirely covered, but rather generously spread between the layers. Let's do it!

The cake: Nice and rich!

Dry ingredients: Set aside after sifting together.
3 cups all-purpose flour
3 teaspoons baking powder
3/4 teaspoon baking soda
1 teaspoon salt


Ready for sifting!

A soft rain of flour onto a pillowy (I know it's not a word) mound!

Into a stand mixer bowl: Cream butter and sugar completely. Add eggs one at a time, then add vanilla and almond extracts.

1-1/2 sticks room temperature butter
1-3/4 cups sugar
3 eggs
3 teaspoons vanilla extract
1/2 teaspoon almond extract

Wet ingredients: Add to the batter alternately with the dry ingredients, beginning and ending with the dry.
1-1/2 cups buttermilk

Baking instructions:
The very first thing I do is prepare the pans; I hate to get to the end of cake making and realize I haven't greased and floured my cake pans. I use shortening and flour, not that spray stuff. You can use butter and flour, of course. I never use shortening for anything but this step in cake making, and making pie crusts. Therefore, I keep it in the freezer. 


Cake ready!
When the cake has been mixed and now ready to bake, pour into the 3 well greased and floured cake pans. Bake at 350 for 30-35 minutes, or until the center springs back when touched. Cool for 5 minutes in the pans and turn out onto a cake rack to cool completely.


Oh y'all, this is gorgeous batter!

Baking beauties!

Stabilized Whipped Cream

1-8 ounce block of soft cream cheese
1/2 cup confectioners sugar
1 teaspoon vanilla extract
2 cups cold heavy whipping cream

In a stand mixer whip the cream cheese until smooth and add the confectioners sugar and vanilla. Beat well together. Add the cold heavy whipping cream and begin slowly to incorporate. Gradually increase the speed and whip to stiff peaks. 

Caution: To make sure you don't create sweetened butter, check often the consistency and all will be well.

Stabilized Whipped Cream Frosting coming right up!
To assemble the cake:
1/2 pint Mayhaw jelly

After the cake layers have cooled completely, place the first layer on a cake plate and add the jelly or jam of your choice. As you can see I used Mayhaw jelly. By popular opinion it's one of the most delicious jellies bar none. Then plop on a generous drift of frosting, repeating this method until all 3 layers are stacked. Add the remaining frosting to the top and sides of the cake swirling decoratively, of course. 

I used my very old Tupperware cake-taker simply because it has a seal-able top. 

Tuck away in the fridge until time to slice and serve. Prepare for rave reviews. I just know this is going to be a cake I'm asked to make again and again. Joy! 


Mayhaw jelly to begin!


This is gonna be so good!


Done!


I'm gonna love serving this tomorrow.

My crew will be with me tomorrow for Sunday dinner, but also in support of the second year anniversary of The Horn Player leaving us. They are my babies and they remember, too. 
May 24th, a most regrettable day.  
  

Thursday, March 19, 2020

Pantry Cooking

So here we are, bound to our homes like a sentence by a cruel court. Well, I'm one of those glass half-full girls, so I made lemonade out of a lemon day. On the second day of confinement (due to the Chinese Virus that has invaded our shores) I was ready to shuck some of my woes and what better way for me than to cook. I love a well-stocked pantry which translates in my kitchen to multiple ways and places where I stash culinary goodies. 

Let's cook something. Freezer first where I found Gulf Shrimp (always buy Louisiana). Next an unlikely pantry location, my herb garden, which now needs a bunch of attention, but the Flat Leaf Italian Parsley is gorgeous, as well as an abundant drift of Greek Oregano. That brought on a hankering for Chimichurri Sauce. I also employed a couple of small green tomatoes I'd bought a couple of days ago for an added gourmet delight. Oh boy! 

So to begin, I peeled, deveined and cleaned the shrimp. Then onto a paper towel to dry. Next I washed the tomatoes by scrubbing them with a bit of salt in my hand, and rinsing in cool water. Clean is best! 

Now the manner in which I prepare green tomatoes is already on this blog; here is the link with an extra recipe for those wonderful lime green orbs. Fried Green Tomatoes  But today I changed it up a bit though the basic method for me stays primarily the same.

Sliced tomatoes (thickness is your choosing)
Light sprinkling of Kosher salt
White corn meal (not self-rising)
Light sprinkling of cracked black pepper
Extra virgin olive oil (about 1/4 cup)
Pat of unsalted butter

After the tomatoes have been sliced and placed on a rack, add the salt and allow to sit for a few minutes. The tomatoes will react to the salt by releasing the water that forms in droplets on each slice. That's a good thing. Add a couple handfuls of corn meal to a plate, and a big pinch of cracked black pepper. Heat the olive oil and butter in a saute pan until the butter is fully melted. Dredge the tomatoes in the meal and black pepper and add to the the pan. The water on the tomatoes will allow the meal to adhere and form a crispy crust. On a medium high heat brown on each side and remove to a paper towel to drain. Drain off most of the olive oil/butter but leave enough for the shrimp. There will be a bit of meal, but no problem with that. It's all good.

Next I sprinkle my "house" seasoning (sounds so chefy) over the shrimp and add to the pan. My seasoning is a mixture of spices I love that are harmonious. You could use your favorite. Saute the shrimp until they curl and turn that pinkish color. Don't overcook.

Now for the star of the show, which ideally should be made first then chilled until the shrimp and green tomatoes are cooked and still hot. 

I love sauces! And this one is so piquant and perfect. It pairs well with so much. The amount I made is small for a lunch of just one. Moi! Recipes, if you research it, vary greatly. This is mine based on what I had on hand in this time of "social distancing". No running to the produce market for me.

Bunch of fresh flat leaf Italian parsley
Small bunch of fresh Greek oregano (it is more pungent, so just a bit will do)
1 small shallot
1 large garlic clove
Pinch of dried red pepper flakes
Pinch of Kosher salt
Pinch of cracked black pepper
Small splash red wine vinegar
Small splash rice wine vinegar
Extra virgin olive oil

Add the ingredients to a food processor and blend until chopped but not to smitherines. You want a bit of rustic texture in the finished sauce. Taste and add whatever seasonings you desire to adjust to your particular taste. Drizzle this fresh and bright sauce over the shrimp and dig in. This is so good!


Gulf Shrimp with Chimichurri Sauce and Fried Green Tomatoes


Wednesday, February 19, 2020

Nanny's Carrot Cake

I love baking! Though I certainly have not practiced much in the last few years, still I'm elated when I get a request. And this time the request came from my child. It's birthday time for him, and of course I prepared the usual birthday dinner last Sunday. The cake I baked for that celebration is one of his very favorites. A plain cake which can be found on this blog from 2010. Here's the link: Cane Syrup CakeI know it sounds a bit ordinary, and so it is. But no matter how unadorned, it's a delicious cake. 

Back to the cake he asked me to bake today. It's a carrot cake he will take to his office to share with all the guys and girls. It seems carrot cake is a favorite amongst that crowd. I'm happy to have them enjoy what is a delight for me to make. So here's another cake to honor his birthday...

Nanny's Carrot Cake

1-1/2 cups canola oil
2 cups sugar
4 eggs
2 cups all-purpose flour
2 teaspoons cinnamon
2 teaspoons baking soda
2 teaspoons baking powder
1 cup broken pecans
3 cups grated carrots
1/2 cup plumped raisins

Into a stand mixer bowl or a large mixing bowl beat together the canola oil and sugar. Add the eggs one at the time, and mix well after each addition. Into a separate bowl, sift together the flour, cinnamon, baking soda, and baking powder. Remove a half-cup or so of the flour mixture, and toss with the pecans to coat well.

Note: This keeps the pecans suspended throughout the cake. 

Add the dry ingredients to the oil and sugar mixture and stir until blended; then add the pecans and extra flour. Add the carrots and raisins stirring to blend completely into the cake batter. 

Note: I know this isn't a popular notion these days, but grate the carrots on a box grater and refrain from using pre-shredded, pre-packaged. The texture is not the same and it will make a difference. Also, to plump raisins, just soak in a bit of warm water for a few minutes.

Pour into three greased and floured 8", or two 9" pans and bake at 350 degrees for about 30 - 35 minutes. Remove to a cake rack. Cool completely before frosting the layers.

1 8-oz package creme cheese
1 stick butter
1-1 lb. box powdered sugar
2 teaspoons vanilla

Add creme cheese and butter to a mixing bowl and blend well. Add the sugar and blend. Lastly, add the vanilla and whip until well blended. Frost the cooled cake.

Note: This cake should be kept in the refrigerator.


Basic cake batter to begin


Floured pecans


Looks like a mess, but this is all the flavor stuff


Stirring that flavor stuff

So perfect and hot, hot

Even sideways it's good lookin'

Coolin' on the rack

Creme cheese frosting is so yum

Spreading it on

This is Nanny's Carrot Cake ~ Named "Nanny's" by my grandsons


I cannot remember the last time I used this ancient cake taker. However, since Matthew is taking it to his office tomorrow, I thought it would be best to protect it this way. Hope they like my cake. It was so good to bake again. Enjoy, y'all!